Forget the plot: the backdrops in The Lone Ranger are literally out of this world. VFX supervisor Tim Alexander and digital matte supervisor Dan Wheaton of ILM tell us how the movie’s largely full-CG environments were created.
The Lone Ranger may have taken something of a mauling, both at the box office and at the hands of the critics, but there’s more to director Gore Verbinski’s take on the classic Western serial than meets the eye.
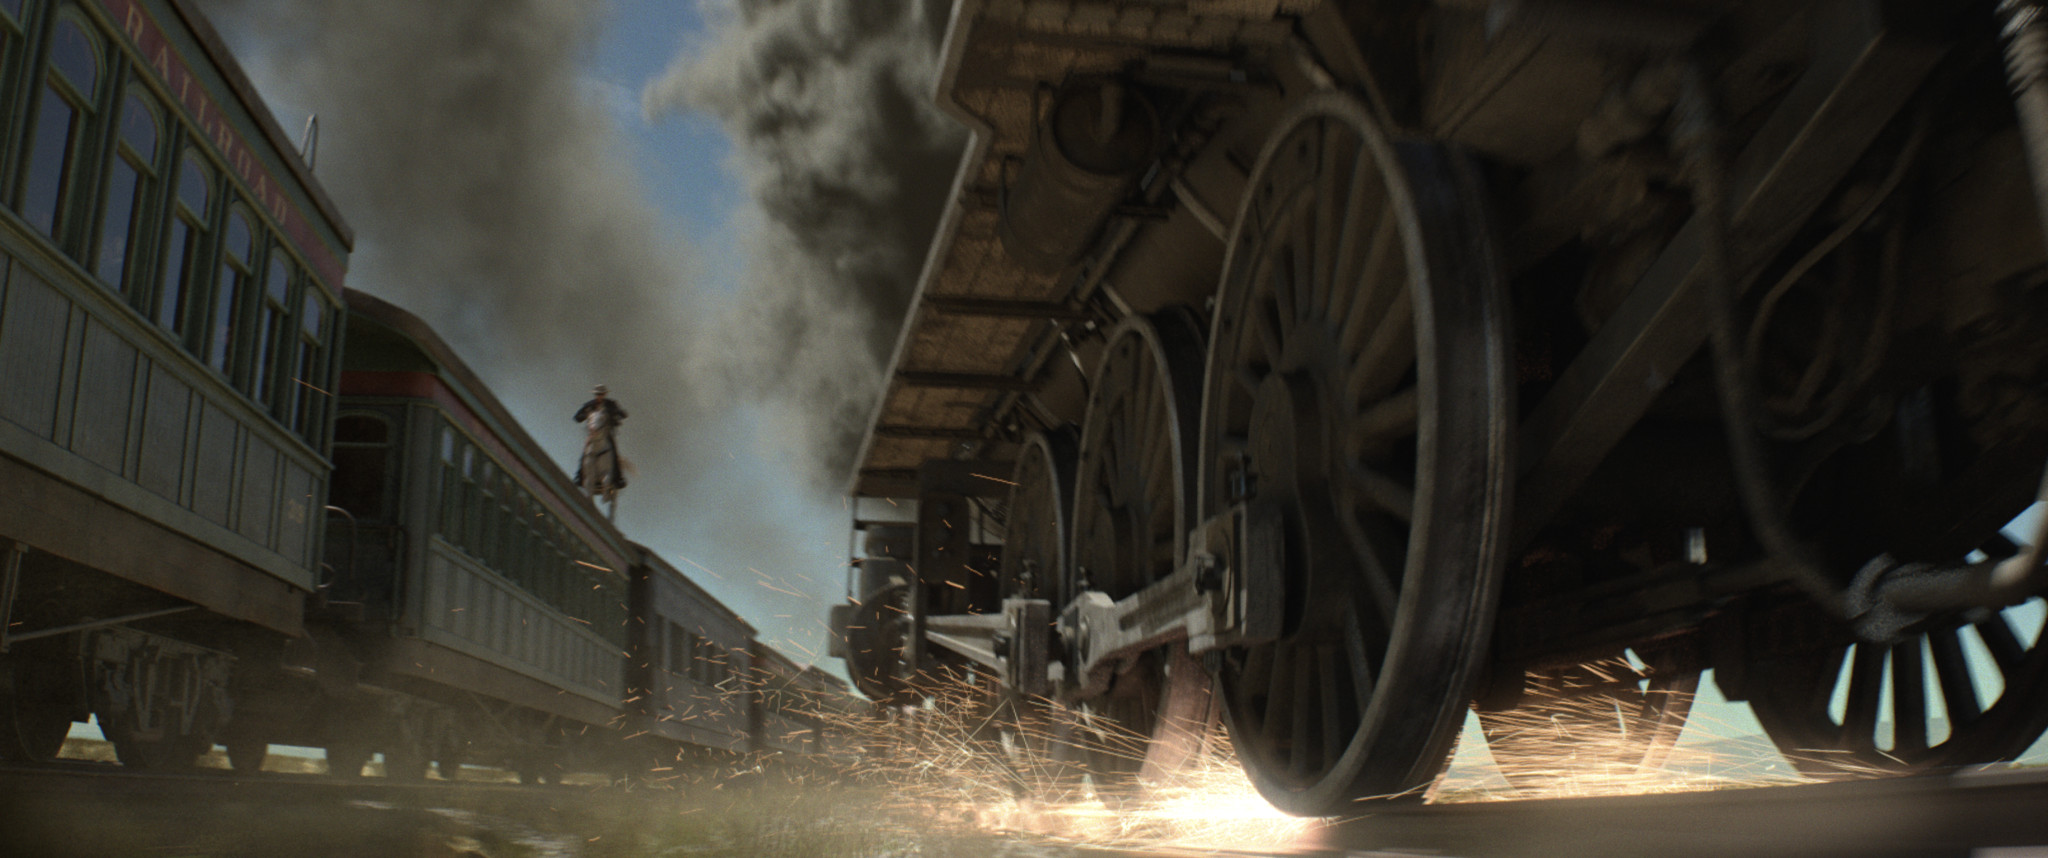
In fact, the best part of the movie may be the one that most critics never noticed – or rather, never noticed had been created by human hands. Industrial Light & Magic contributed 375 visual effects shots to The Lone Ranger, almost all of them invisible, including photorealistic trains and environments.
In this article, VFX supervisor Tim Alexander and digital matte supervisor Dan Wheaton tell us how some of those effects were created, discussing how the facility’s decision to move to a 3ds Max/V-Ray pipeline enabled it to create supremely photorealistic results – and to do so not for a single environment, but for hundreds.
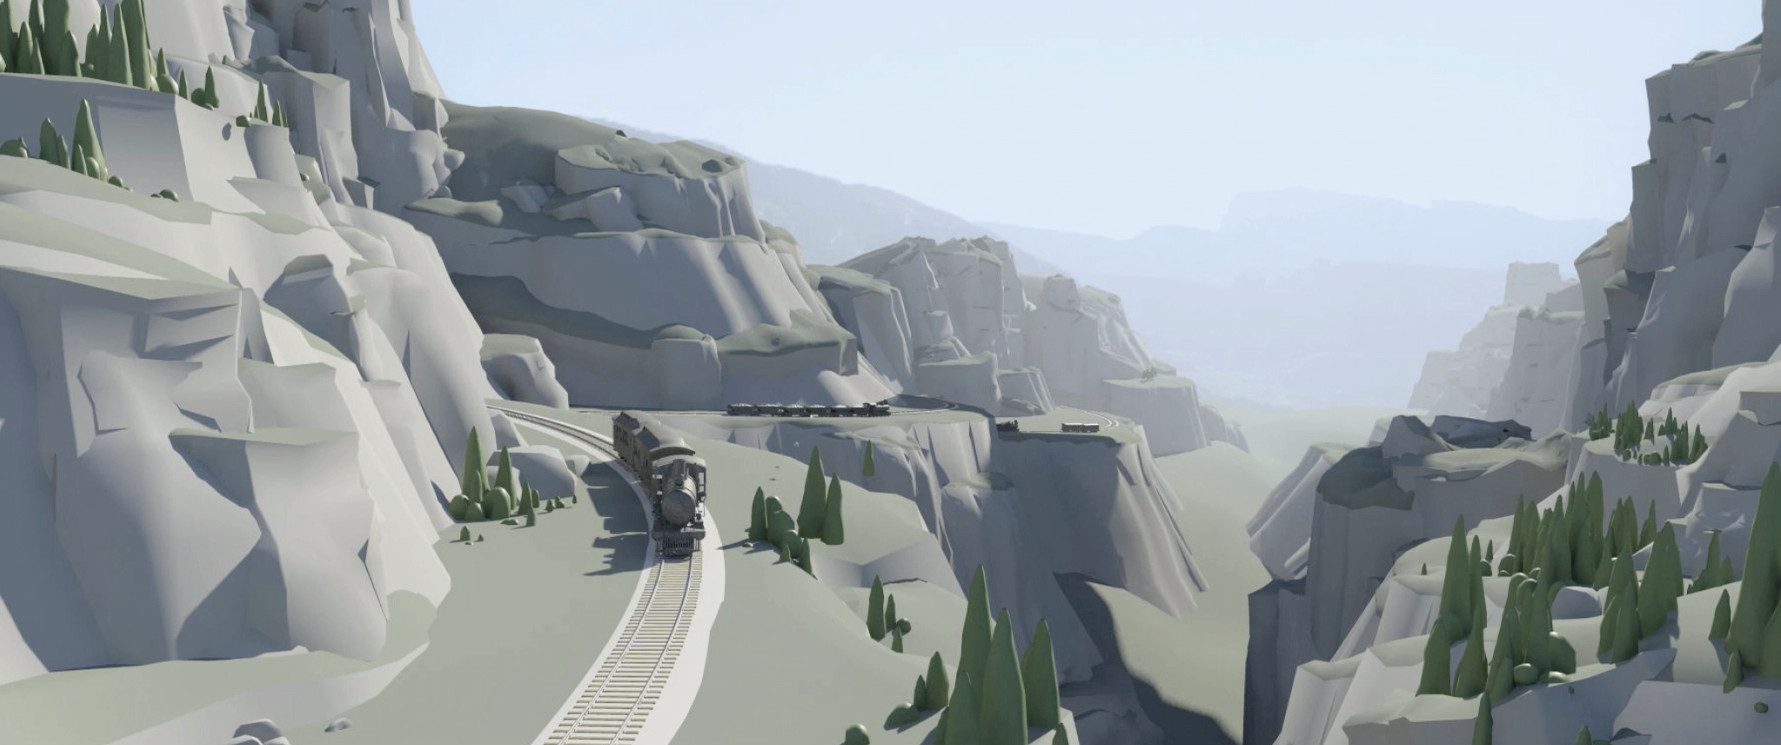
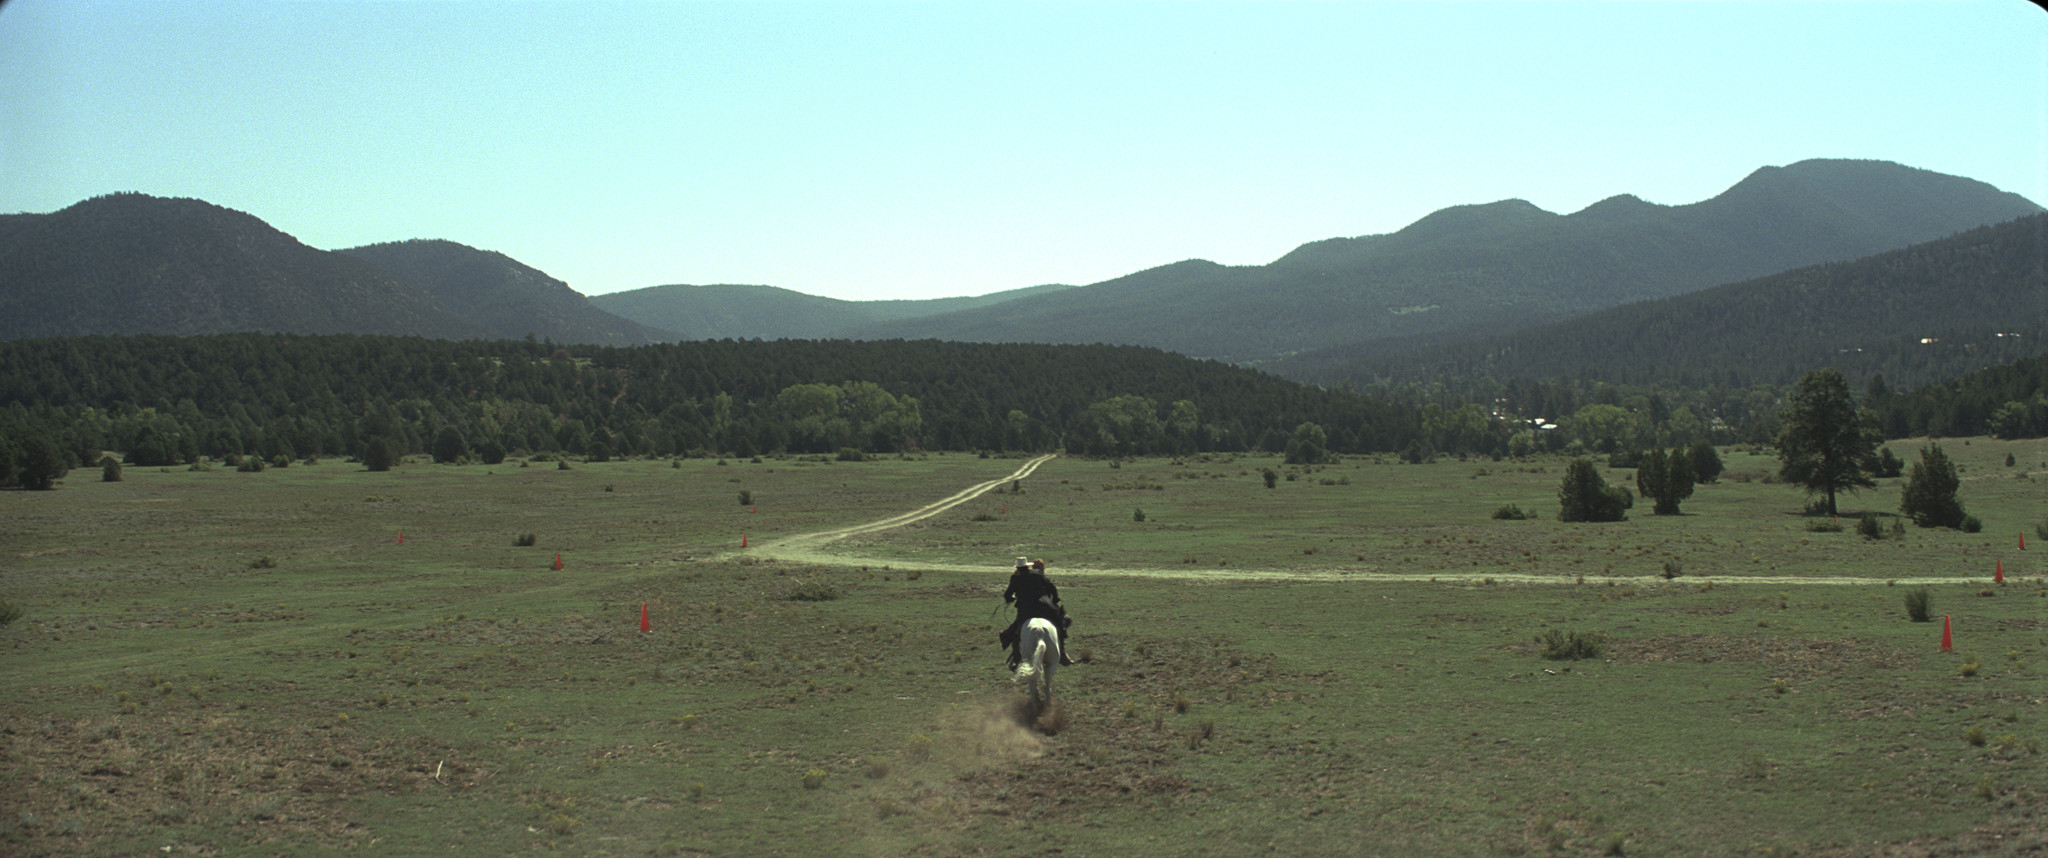
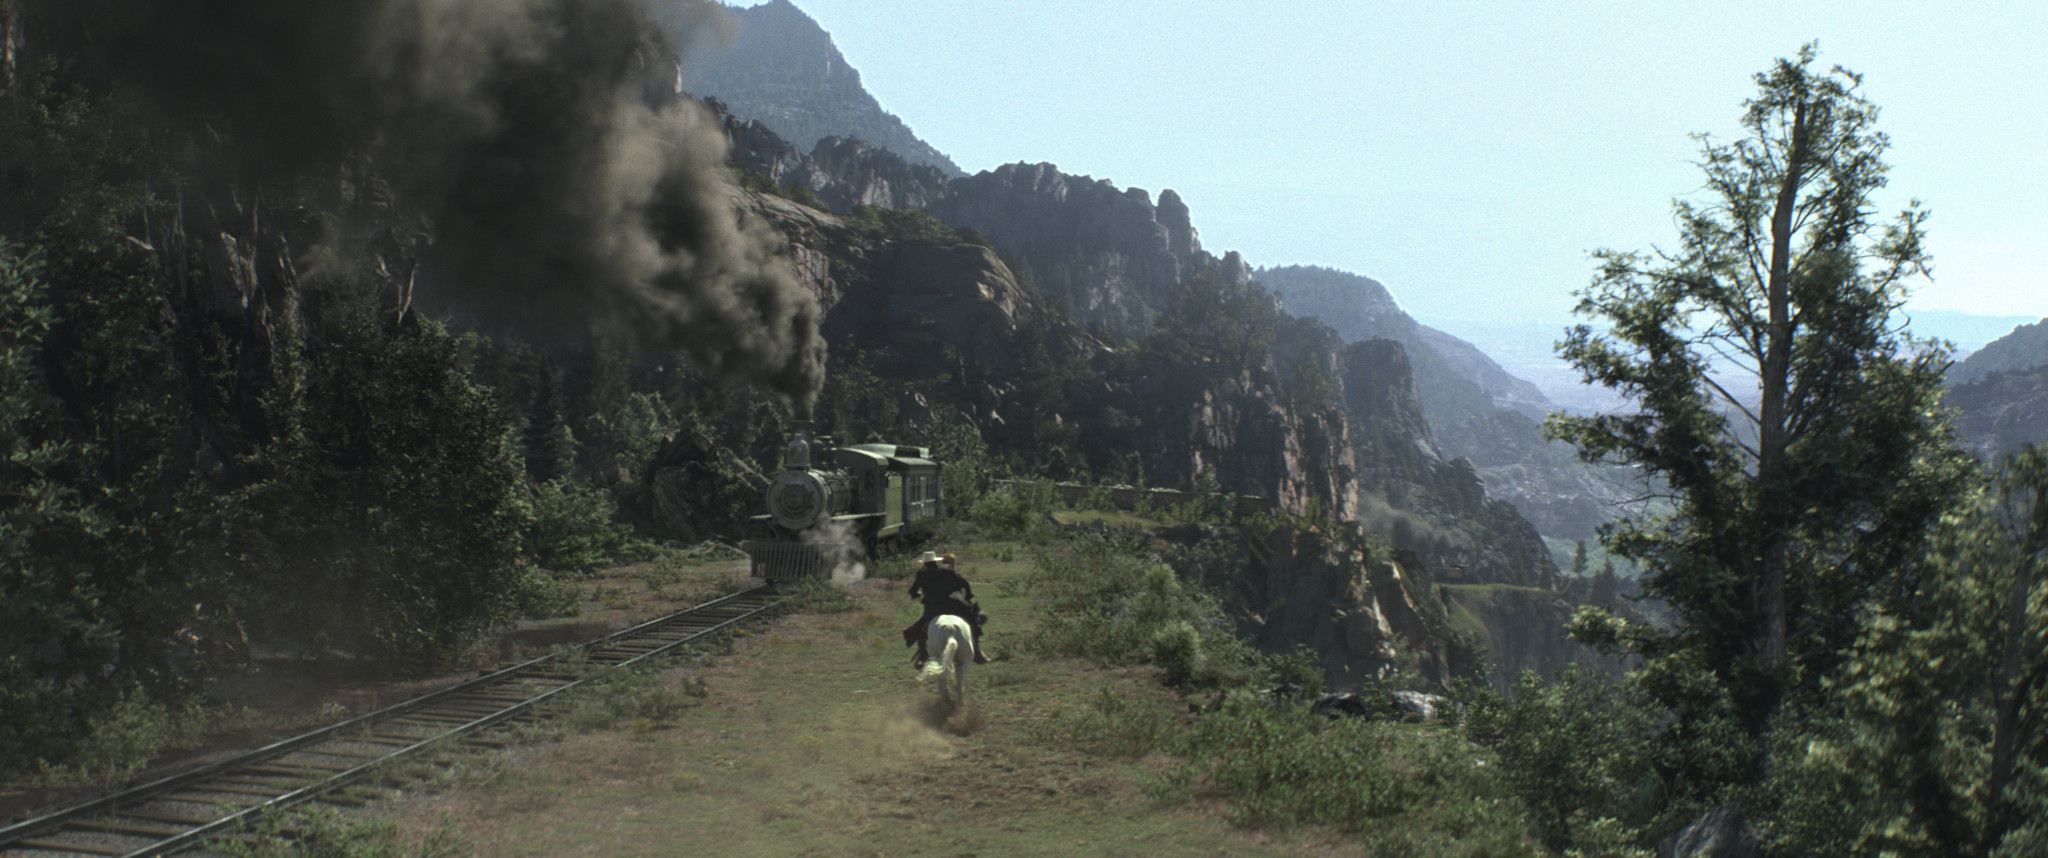
The third act of the movie is a choreographed chase between two trains. ILM worked to director Gore Verbinski’s animatic (top), trying to make CG environments (lowest image) match the pre-viz as closely as possible.
Scouting the locations
Tim Alexander: The third act of the movie is a choreographed train chase, and every single shot, from Gore’s point of view, is intentional. He did previz very early on that we used all the way through production. It was all about timing and music; there isn’t a lot of dialogue.
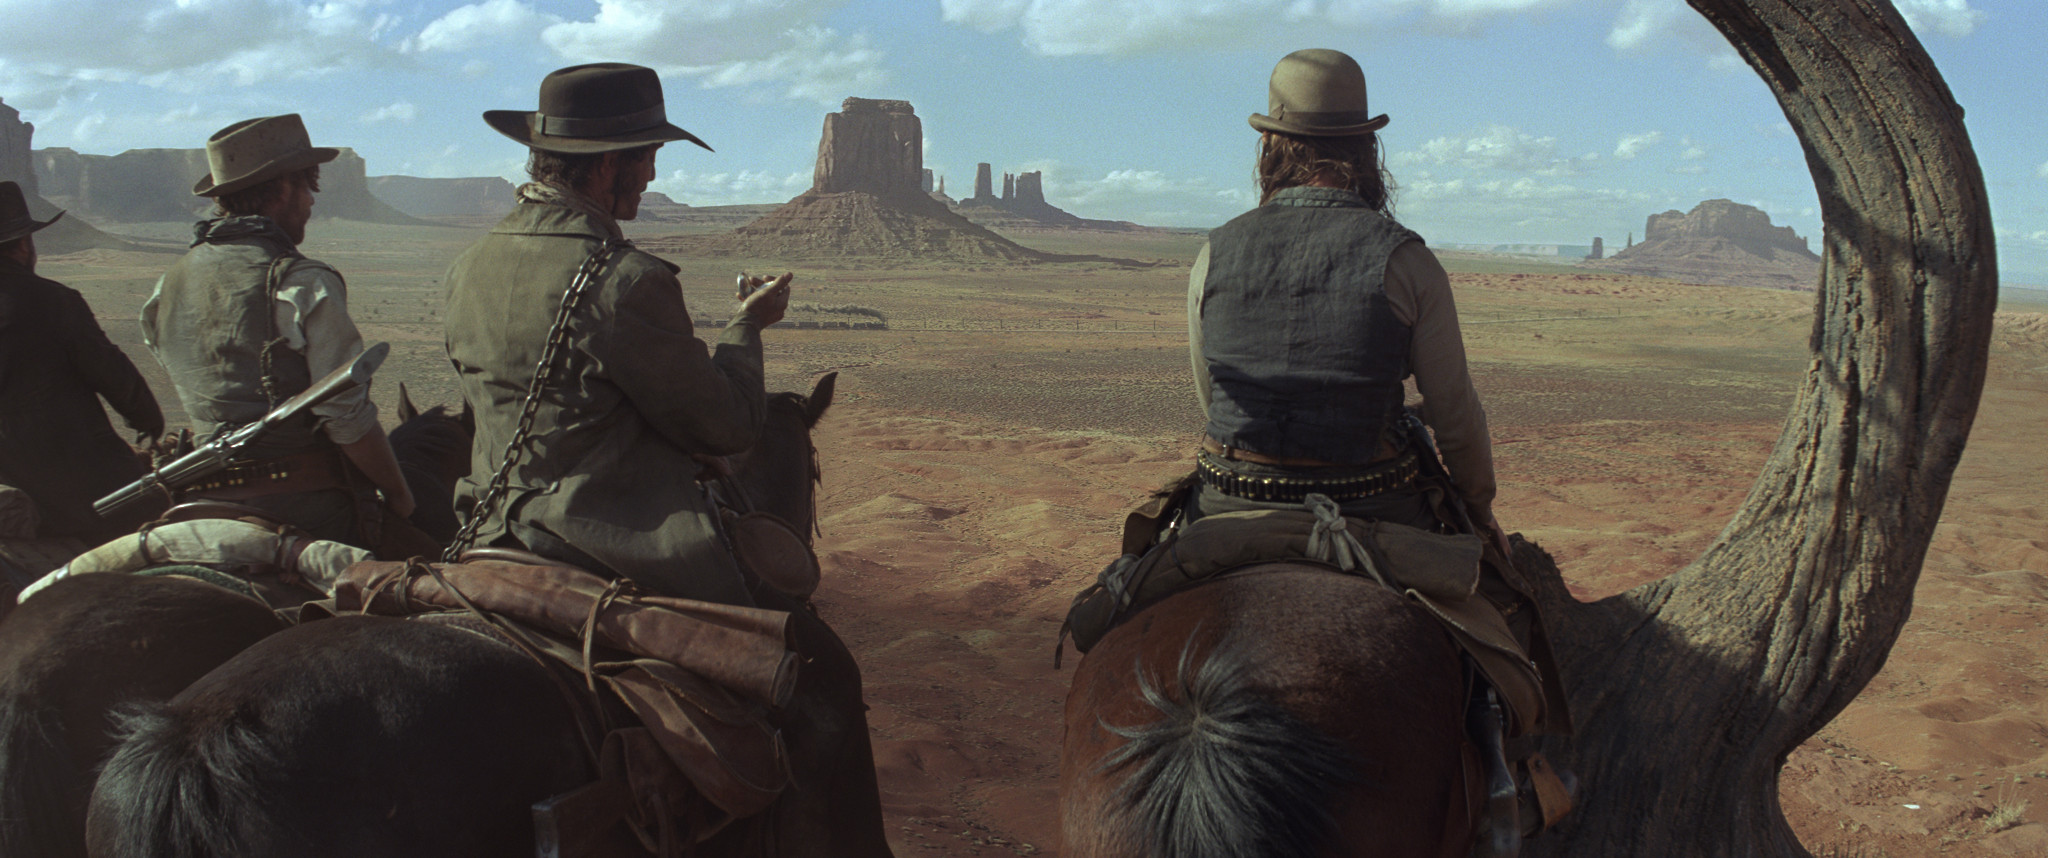
Scouting for locations that matched the previz took four to six months, then we were out on location for about eight months. We travelled all over the four corners of the States, looking at pretty much every single train track out there. In the end, we shot in New Mexico, Utah, Arizona, Colorado and California.
Our goal was to try to get at least half the frame in camera, knowing that we’d have to put in the other train in CG. We called it our ‘fifty per cent rule’. But when we started shooting, we realised we weren’t going to get as much as we’d hoped. There was the difficulty of shooting actors on top of moving trains and getting good performances out of them. And the production schedule dictated that we had to move back to LA and shoot some stuff bluescreen we hadn’t necessarily wanted to.
When that started happening, we very quickly started capturing reference material. We covered every location in every way possible: LIDAR scanning, tons of spheres, and we drove down the road with either a VistaVision or an ARRI studio camera to shoot plates we could potentially tile.
I thought we might be able to compile some of the plates and use them as backgrounds, but when we took them into post, it was pretty obvious that they weren’t going to work. For one, Gore wanted the lighting to match exactly between the foreground and the background, so we weren’t giving anything away: he didn’t want that bluescreen look. And having to have both trains at very specific points in frame meant that we had to modify the topology quite a bit just to tell the story. Even if we could get a background plate, we’d have to have modified it anyway.
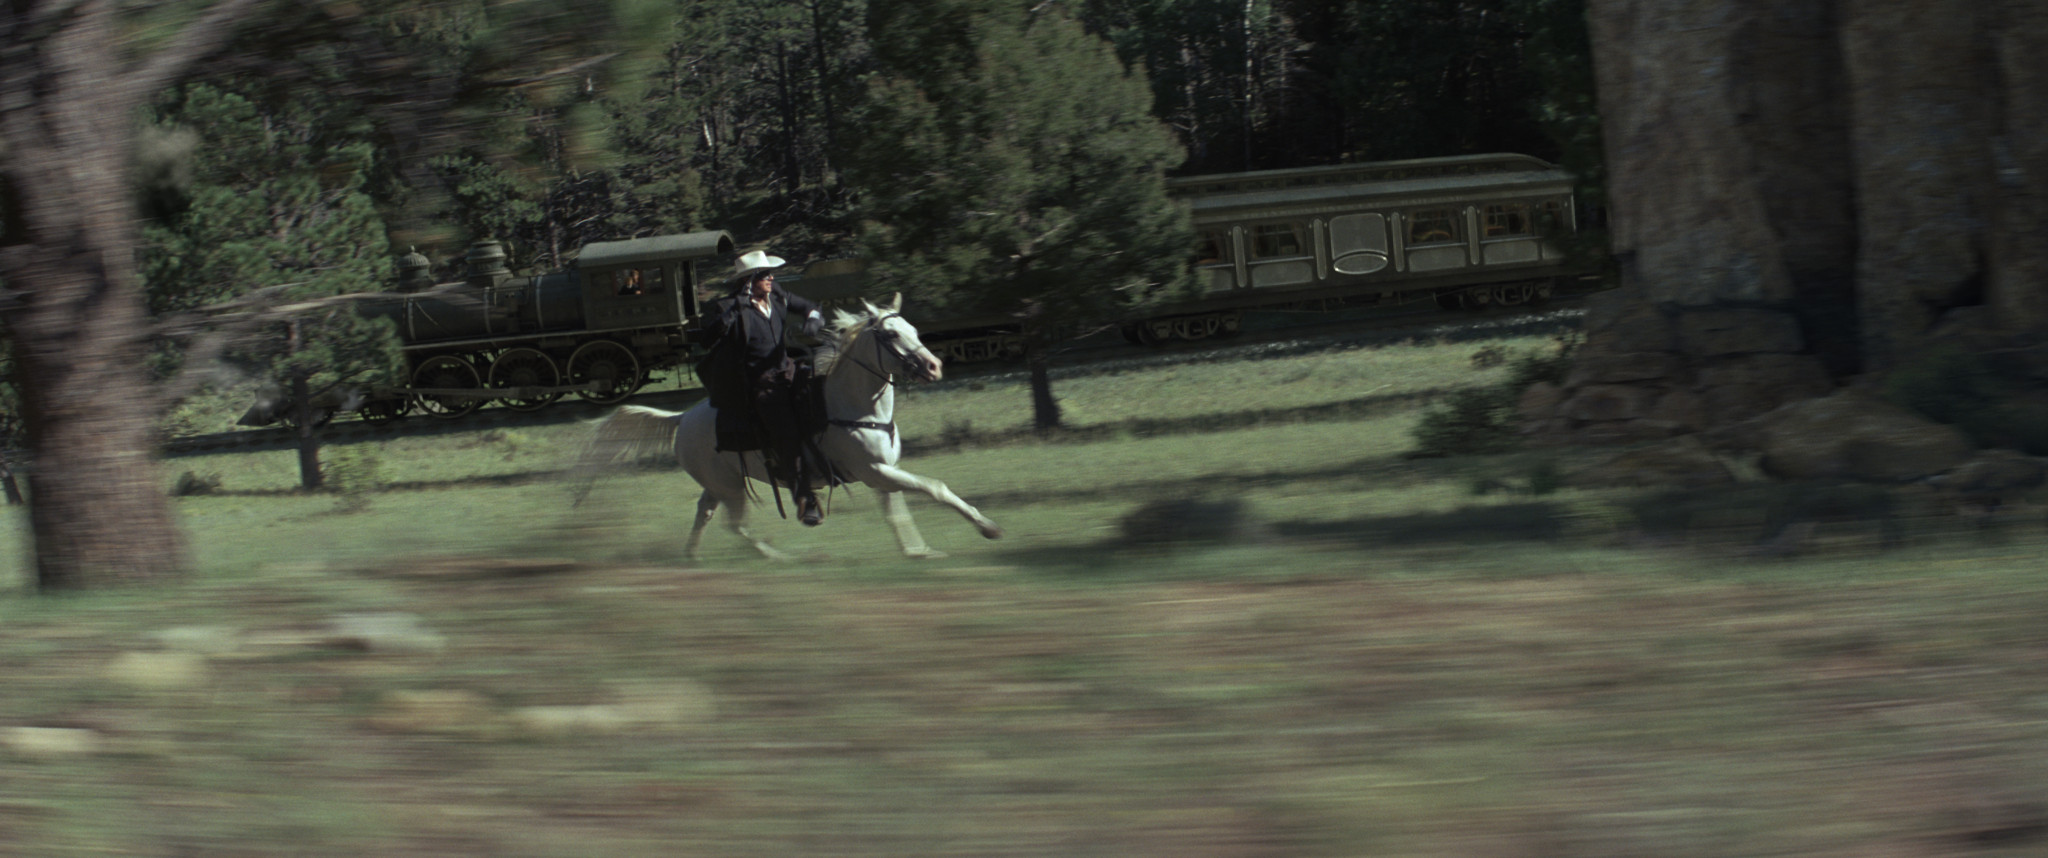
Despite a shoot that crossed five states, the difficulty of finding real locations that matched the action required ILM to create hundreds of individual CG environments, working on a largely per-shot basis.
Building environments entirely in CG
Dan Wheaton: When you build an environment for a show, then drop fifty or a hundred cameras into it and get all your shots out, you’re leveraging a ton of work in a single unified set. What we had here was a moving environment. We were changing from shot to shot on the fly. We couldn’t build a single set; we had to build a set per shot and still maintain that level of finesse and believability, as we moved from foothills through into mountains.
The challenge was two-pronged. We had not only to do invisible work – we all know what forests and hills look like, so there’s no room for suspension of disbelief – but do so on three to four hundred shots where you’re constantly on the move. The original environments were a starting point. But Gore’s mandate to me and our team was to take people on a real ride: to make things believable, but bigger, bolder; as dramatic as we could get.
TA: There was a lot of regular old camera stuff. If you look out of the side window of a moving car, it feels fast; if you look out of the front, it feels quite a bit slower. It’s exacerbated by longer lenses: if you have a long lens and you’re shooting forwards, it doesn’t feel like you’re moving at all.
For the third act, which is all about excitement and speed, that was quite an interesting problem. Gore wanted everything to be going fast, so Dan and his team would have to move things in so close to the train that in reality they would be physically hitting it in order to get things whip by the camera. We also had trains going 60mph, whereas at the time, they were only going at 15mph.
Although based on live background plates, Gore Verbinski directed ILM to make its digital environments “bigger and bolder” than reality, heightening the chase sequences’ sense of speed and drama.
Choosing the pipeline
DW: We leveraged what we had learned on Rango, and before that, on Avatar. The environment work on Rango was really focused on desert, so we developed a pipeline that could handle that. But while Rango was photographic, as far as the level of detail went, it wasn’t photoreal. This time, we needed to get photoreal CG environments.
When we started The Lone Ranger, we changed some of the toolsets under the hood: we went strictly over to 3ds Max, using V-Ray as our renderer. That was the final piece of the puzzle. We were getting not only great render results, but great render throughput: it could handle everything we were throwing at it.
Building the assets
DW: There was never any huge asset-building phase. We started with a very simple layout and worked from there, initially creating rock geometry for very specific uses, then repurposing it, just by dressing sets differently. We kept things fluid and light.
We did most of the asset build in 3ds Max, but it could be in ZBrush [or other packages] if we needed it; there were a variety of approaches.
The texturing is a mix of photographic work and hand painting. There are certain shots that are more matte painter-ish and you need a matte painter’s eye to pull everything together, but we had terrific photo reference, and that keeps you honest.
Vegetation was created almost entirely in SpeedTree. IDV’s vegetation-generation tool enabled ILM to generate variant trees quickly and efficiently, and add subtle animations to bring the environment to life.
Creating vegetation
DW: For the vegetation, SpeedTree was pretty much the only solution we used. It’s a really artist-friendly tool when you’re trying to create something organic. You can get a lot of variety very quickly, just by putting in different seed values. But you can also go in and hand-draw splines and get a match to a tree you want to replicate. It does everything from quick solutions right down to full control.
TA: The other important thing was to have the trees move. That’s always been an issue with big environments. It’s fairly easy to populate an environment, but having all the trees move – and move in an interesting way – is tough.
Again, we were able to get that out of SpeedTree. We didn’t move every single tree, just ten or fifteen that were at the right spot in the frame. Even adding one tree at the right spot in a frame made a huge difference. We didn’t have to move every tree to make the environment feel alive, but we did have to move the right one.
Dressing the sets
DW: The total number of assets that make up the environments is smaller than you would think. We had the most variety in the trees: by the end, we had several hundred models, and animated versions as well. But we only had fifty or sixty rocks and mountains and cliffs. There would be one-offs where we had to model something very specific to match into a plate, but otherwise we were able to reuse our assets very efficiently.
We used in-house 3ds Max scattering tools to populate the environment very quickly. That allowed us to take the trees, put thousands of them into a set and randomise them. You can control the types of trees in an area, and their scale, rotation and density, with a spline or a map.
That was something we leveraged from Rango. Here, we simplified the process and just did a blocking take very quickly: there was no worrying about shaders, we populated a set with a lot of our tree assets, created forests and indicated hills, and ran the camera through it very quickly. In no time, we had a rough take we could use for a large group of shots, and that gave Gore something to feed back on.
Seventy-five to eighty per cent of the environments [from our work on the third act of the movie] were full 3D. We’d built trees at different resolutions from hero-res right on down to a proxy level, and we were thinking, ‘Okay, we’ll put low-res trees off in the distance, then hi-res trees in the foreground, and we’ll be more efficient that way.’ But V-Ray was just such a solid render choice, we used our hero trees all the time. We put ten thousand hero trees out there and we got a look that was great, that rendered quickly, and that kept us flexible: we didn’t have to worry about using cards.
Lighting and rendering
DW: The lighting was really simple. We were always looking to do three-quarter backlit because it’s a setup Gore really likes and he tends to shoot a lot that way, but it was driven by the plates. We used a V-Ray Sun and GI, aiming for a very naturalistic look and feel.
TA: It came down to questions like, ‘Do we use scatter on the leaves? How much specular do we use?’ – all those little details. When you look at a real environment, there’s so much difference between individual trees, and getting that fine detail into our renders was a major challenge.
But from my point of view as the supervisor, the biggest challenge was making the environments look cohesive. With a bluescreen shoot, you might start at 9am and end up at 5pm. You try to cluster shots by sequence, but even then, the sun is drifting, and Gore has a tremendous eye for cinematography. To him a bad lighting direction on a background plate screams ‘bluescreen!’.
It was a matter of moving the lighting direction to match the foreground, and with this methodology we could do that. Traditionally, it’s very difficult to relight from shot to shot: you want to set up one lighting rig and render a bunch of shots with it.
Integrating foreground and background
DW: The more you invest in 3D in the environments, the more you benefit in the integration in the final shots. V-Ray and Max gave us a lot of control. You get a lot of things for free in the render, and then you can break it down to a very granular level for control with the AOVs. And when you’re doing full CG, you can get deep renders, which allows the compositor to get a full 3D representation in the compositing package.
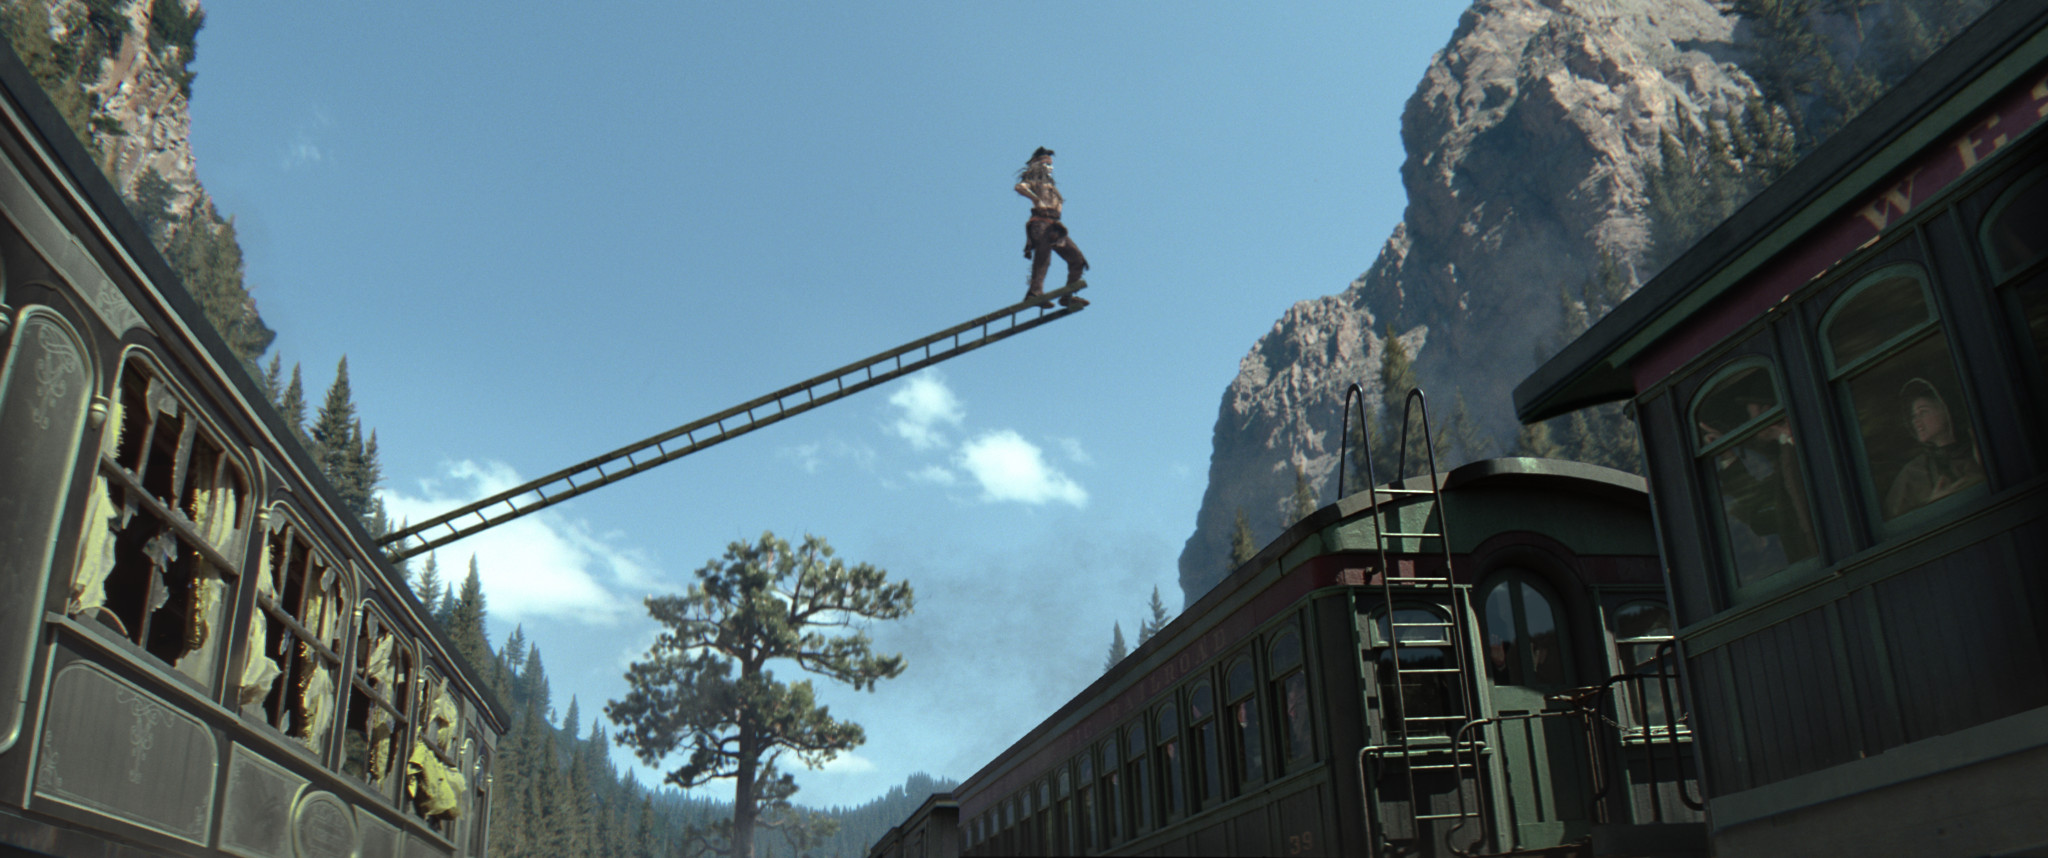
There weren’t any explosions destroying environments, but we did have shots like the one in the trailer of Johnny [Depp]’s character jumping from a ladder onto a train and the ladder getting smashed against a tree. We also had smoke going through shots the whole time.
TA: We had about 150 people on the show, and at one point we had almost 20 FX people just doing smoke!
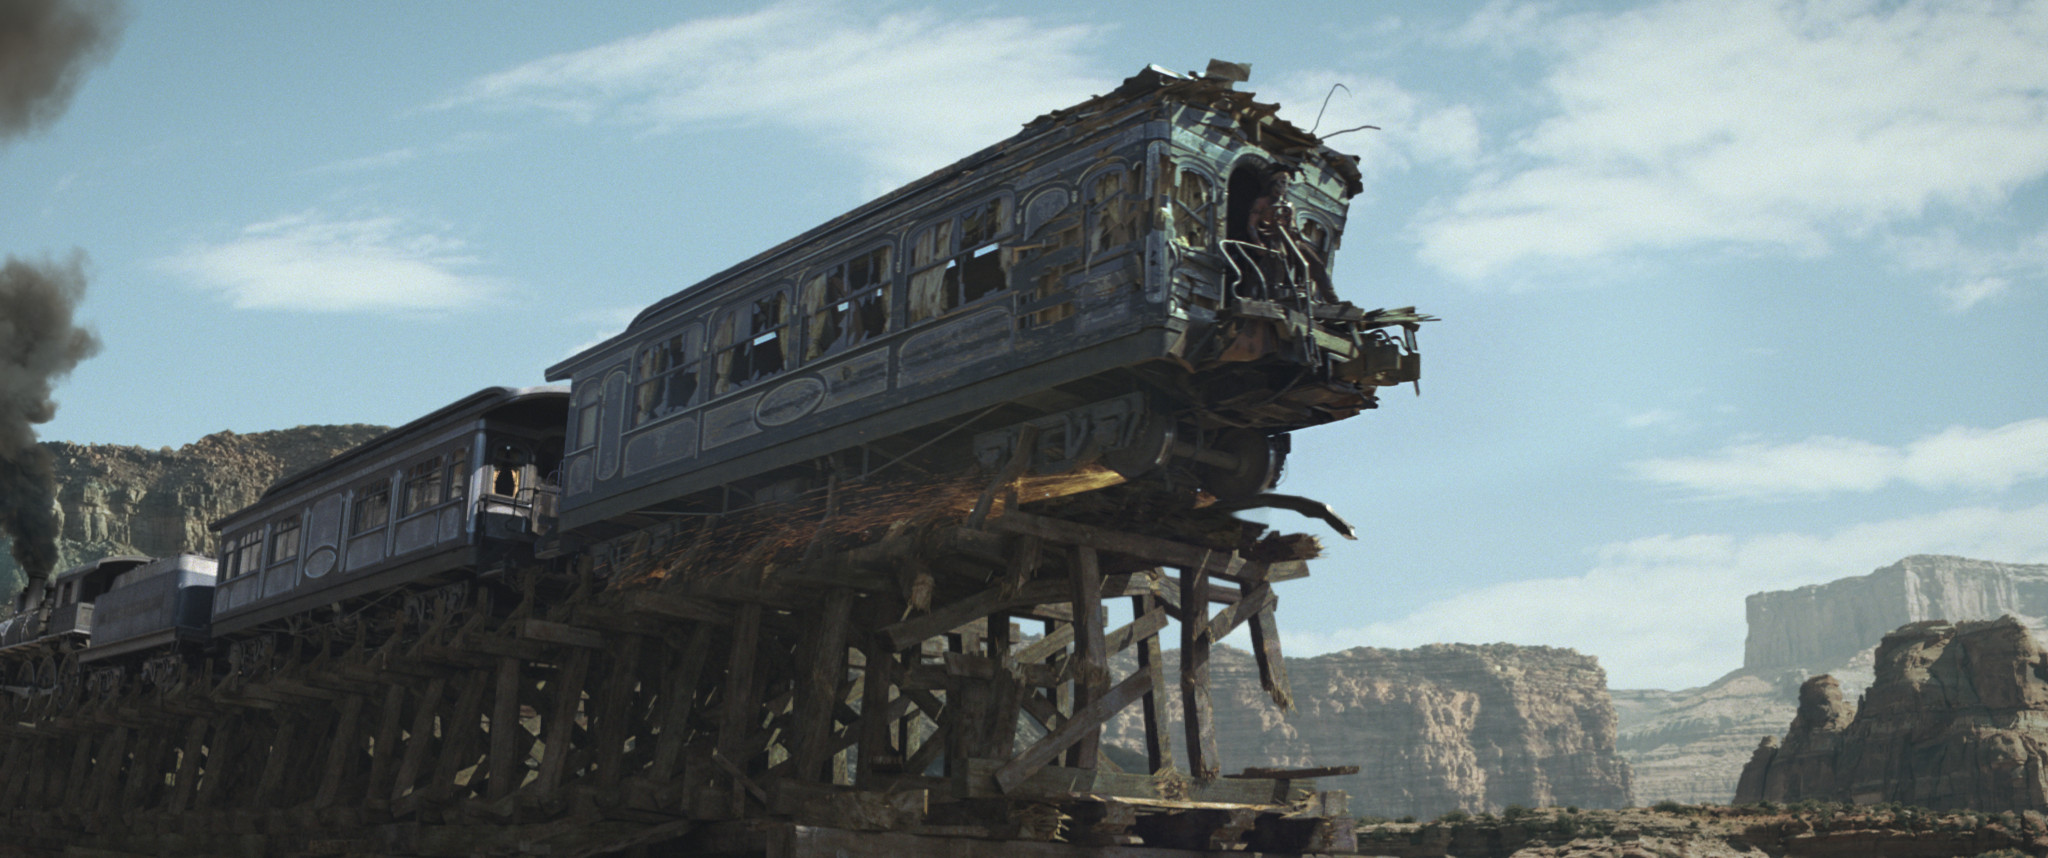
Despite a few more obvious stunt sequences, the majority of ILM’s effects in the movie are invisible. Dan Wheaton describes the level of quality and consistency the studio achieved as the ‘Holy Grail’ of environment work.
A new benchmark for invisible effects?
TA: Overall, The Lone Ranger was a really fun movie to work on. I’d never worked on a VFX project that wasn’t about robots, or explosions, before.
DW: The work I’m most proud of is probably going to be the work that people never recognise, and that’s because it’s invisible. I had people stopping me in the hall to say that they didn’t realise that the environments were CG until they happened to see the plates.
It was that Holy Grail of creating believable, natural environments – and maintaining that high level over a lot of shots. There are sequences where the movie goes from plate to CG to another plate for 30 shots, and you’d never register it. But you’re seeing our work throughout the entire third act of the movie. Once the William Tell overture kicks in, you’re in our world.
The Lone Ranger is out now on worldwide release. A further 425 effects shots on the movie were created by MPC and around 200 more by an in-house team. All images in this article are courtesy of Walt Disney Pictures.
